
Thicker paper might require you to pierce 3-5 sheets at a time.
Pierce each sewing station with a Japanese screw punch or regular hole punch. Lay the template on top of the stack and clamp it in place using binder clips. Stack the paper so the spine edge is flush. First row of sewing stations for Noble binding pattern Second row of sewing stations for Noble binding pattern Transfer the sewing station locations to the paper using the new template Here are two diagrams I’ve created to show you the position of my sewing stations. Pierce each of the newly marked stations with either a Japanese screw punch or regular hole punch. 4B: 1/2″ down from head, 1/2″ in from spine. 4A: 1″ down from head, 1″ in from spine. 3: 2-1/4″ down from head, 1″ in from spine. 2: 2-1/4″ up from tail, 1″ in from spine. 1B: 1/2″ up from tail, 1/2″ in from spine. Place a mark in each of these locations on the reserved sheet:. Finished adding spacers & scoring each sheet Create a sewing station template for the Noble binding pattern Spacers Add double sided tape first Apply spacer to tape Voila! Spacer in place. This line will make it easier for each page to bend from right to left. Score a line on each sheet 1-1/2″ in from the left edge (directly after the spacer). Apply a spacer to 23 sheets of paper using double-sided tape. For my book, I chose 24 sheets of 98lb (160gsm) Canson MiTientes drawing paper. Cut (and deckle, optional) each sheet of paper. Steps: Cut paper, apply spacers & score a line on each sheet ROMANTIC PHOTO ALBUM HOW TO
Spacers are often created from individual sheets, but this tutorial will show you how to add them manually. Without spacers, the book would expand and damage the spine over time. To avoid this, we need to include “spacers” between each sheet to allow for this to happen.
.jpg "romantic photo album")
Photo albums will expand as memorabilia is added, which places strain on the spine. Here is an illustration of how each of the materials listed above will come together to create the album in this tutorial. Optional: Corner jig, steel spacers, self-backing eyelets, crop-a-dile, paper tear bar.1 large & 1 small paste brushes (or glue sticks).Japanese Screw Punch with 3mm tip or 1/8″ hole punch.PVA or Elmer’s glue and double sided tape.22 to 25 pieces of 190gsm paper, cut to 1-1/2″w x 6″h.2 sheets of decorative card stock or fine paper, each cut to 8-3/4″w x 5-3/4″h.One piece cover material for the front board, 7-7/8″w x 7″h.1 sheet of covering material for the front and back covers cut into two pieces, (A) 2-3/8″w x 7″h, (B) 10″wx7″h.Now, let’s get into the tutorial! Soft, Romantic Photo Album Materials: I’ve linked these papers below under Resources. To avoid any snags, I paired the ribbon with 3mm enamel coated eyelets in pink and white. Instead of waxed thread, I picked out 1/8″ satin ribbon. It’s very easy to work with, which was a bonus I hadn’t expected. It reminds me of floral leaves and stems grown in the warm sunshine. This 90gsm paper is leather-soft and crinkly. These features remind me of cotton dresses and floral meadows.

It features the Bodhi Leaf (“bodhi” translates to “awakening” or “enlightenment” in Western language), which is heart shaped and translucent.

This 130gsm handmade paper has a white Kozo base, making it soft yet strong and flexible. To bring this image to life, I chose out materials to represent each point. When I think of romance, I imagine the following:
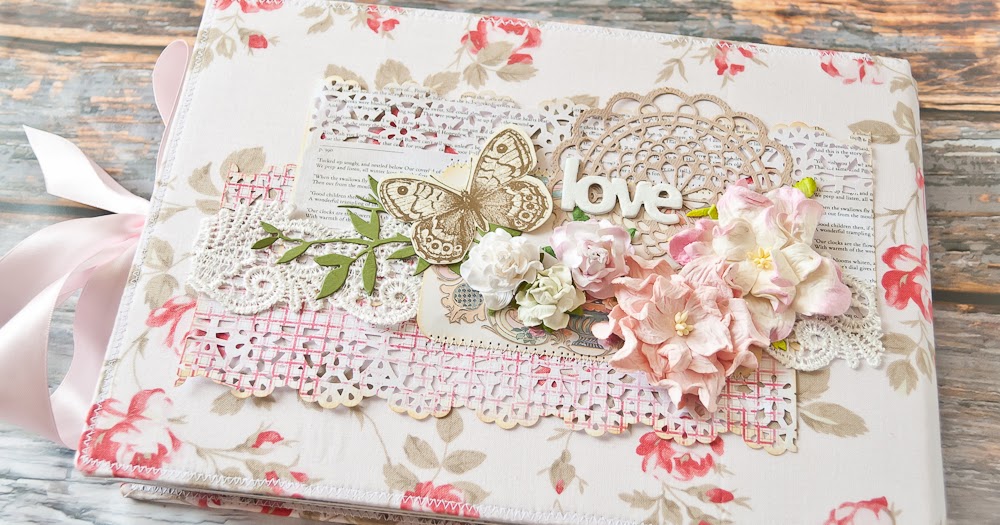
Part 3: Sew the book using a Noble binding patternĬhoosing materials for a romantic look & feel. Total Time: 180 minutes + drying time Quick Menu: I’ll share more about the materials I chose (and why) below along with a few extra tips to help you customize this for your own needs.īookbinding Tutorial: Soft, Romantic Photo Album To add structure and a romantic touch, the spine is sewn with the Noble binding pattern using 1/8″ white satin ribbon. It’s bound using the Japanese Stab Binding method, which is perfect for a book of this shape and size. This landscape album is 9″圆″ and intended to hold 4×6 prints. Unfortunately, one of the photos had a discoloration mark I took this as a sign: get those photos into an album, woman! In today’s tutorial, I’ll show you how to create a soft, romantic photo album for your own pictures. 
During a closet reorganization project a few weeks ago, I came across a bin of my favorite family photos.
 0 kommentar(er)
